
Living Photo Won't Scan? 7 Trigger Image Mistakes
Stories AR team

You point the camera at the print, and nothing happens. Ninety percent of the time the problem is not the phone, the browser or the platform — it is the trigger image: the printed photo the camera has to recognize. Here are the seven mistakes that break recognition most often, why each one confuses the camera, and the concrete fix for every case.
Quick answer
An AR photo scans when the camera can find enough unique visual detail in the print. The seven usual killers: flat single-color areas, repeating patterns, glossy laminate glare, prints that are too small, poor lighting at scan time, low-contrast images, and uploading a different version of the photo than the one printed. Fix the trigger and the same video plays instantly.
Key takeaways
- Recognition needs unique detail: faces, textures and contrast scan well; flat and repetitive designs do not.
- Glossy laminate is the most common physical culprit — glare masks detail; go matte.
- The uploaded photo must be pixel-for-pixel the version that got printed — no crops, filters or retouch afterwards.
- Working size range is business card to poster, but tiny trigger areas inside a larger layout fail.
- Test with a real scan before printing the full run — a screen test catches most problems early.
Mistakes 1–2: nothing unique to see
Mistake 1 — flat colors. A minimalist design with large single-color areas gives the camera nothing to grab. Recognition works by finding distinctive points in the image; a beige background with a thin logo has almost none. Fix: make a detailed photo the dominant element — a face, a scene, a textured object. Detail is not decoration here; it is the mechanism.
Mistake 2 — repeating patterns. Tiles, stripes, checkerboards and ornamental wallpaper look identical to themselves in many positions, so the camera cannot decide where it is looking. Fix: break the symmetry. If the design needs a pattern, overlay a photo or asymmetric element covering a substantial part of the trigger area.
Both mistakes have the same root: the trigger must be unique across its surface. A portrait photo is the gold standard — which is why the platform's core use case, photography, rarely hits these two.
Mistakes 3–4: the physical print fights you
Mistake 3 — glossy laminate. The photo is perfect, the print shines like a mirror — and the camera sees a white glare blob instead of the image. Gloss is the most common physical reason a well-designed trigger fails. Fix: order matte or soft-touch lamination. If a glossy run is already printed, scan at an angle to the light source and away from windows or overhead lamps.
Mistake 4 — print too small. Recognition works from business-card size up to posters, but that range assumes the trigger fills the print. A photo shrunk to a postage stamp inside a big layout is below the practical threshold — the camera simply gets too few pixels of it at a normal scanning distance. Fix: let the trigger photo own the surface; keep decorative margins, logos and text outside it.
Mistakes 5–6: scanning conditions and weak contrast
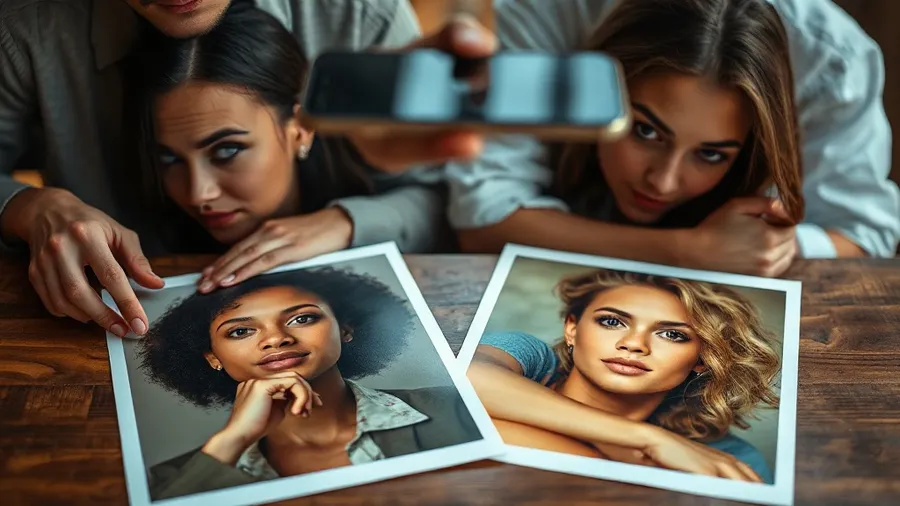
Mistake 5 — bad lighting at scan time. Even a perfect trigger fails in a dim hallway or under a single harsh spotlight that throws deep shadows across the print. Fix: demonstrate in even, reasonably bright light. For events, think about where the prints will hang — a living photo wall in a dark corner will disappoint regardless of the files.
Mistake 6 — low-contrast photo. A pale, airy, high-key image can be beautiful and still be a weak trigger: the detail is there but the differences between its points are faint. Fix: choose a version with pronounced contrast for print, or add a slight contrast boost to the print file. The trigger image guide shows what recognition-friendly images look like in practice.
Mistake 7: the sneaky one — wrong photo version
Mistake 7 — the uploaded photo is not the printed photo. This one produces the most confusing failures: everything looks right, nothing scans. The cause: the file in the dashboard differs from what came off the press — a crop applied at layout, a filter added later, retouch done after upload, or simply the wrong export from a folder of near-identical frames.
The camera matches against the exact uploaded image; visually similar is not equal. Fix: upload the final print file — the same pixels that go to the printer. If the layout gets cropped or color-corrected at the print shop, re-upload the final version. The video, link and QR stay the same; only the trigger updates.
A pre-print test that catches all seven
You do not need to print to verify a trigger — recognition works from screens too. Open the photo full-screen on a monitor and scan it with a phone: if it triggers reliably from the screen, the design side is sound, and only the physical factors (gloss, size, light) remain to check on a single proof print.
Run this test before any full print run, especially for client work and event volumes. To feel what a correct scan should look like, try the live demo — point your camera at the sample and note how fast a good trigger locks on. That speed is the benchmark your own prints should hit.
- Screen test: scan the photo from a monitor before printing
- One proof print in the final finish before the full run
- Scan the proof in the actual lighting of the venue or shop
- After any layout change at the printer — re-upload the final file
Test your trigger before you print
Create the AR photo free, scan it from your screen, then print one matte proof. Two minutes of testing saves a whole reprinted run.
Start for freeFrequently asked questions
The photo scans from my screen but not from the print. Why?+
The design is fine; the physical print is the problem. Check the usual three: glossy laminate glare, a trigger printed too small, or dim/harsh lighting where you scan.
Does the print size really matter?+
Yes, at the extremes. The working range is business-card size to posters — but the trigger photo must fill the print, not sit as a small element inside a larger layout.
I retouched the photo after creating the AR pair. Do I need to do anything?+
Yes — upload the retouched version to replace the trigger. The camera matches the exact uploaded image, so the file in the dashboard must equal the printed one.
Can I fix a glossy print run that won't scan?+
Partially: scan at an angle to light sources and avoid direct glare. For the next run, switch to matte or soft-touch lamination — that removes the problem entirely.